This is Kotobukiya's Frame Arms Girl Durga I.
 |
This build is my entry for USAGS Mecha Girl Contest.
Starting from the box, it is a simple design with a beautiful picture of Durga on white background, showing off her gallant form
Here are the pictures of the finished kit.
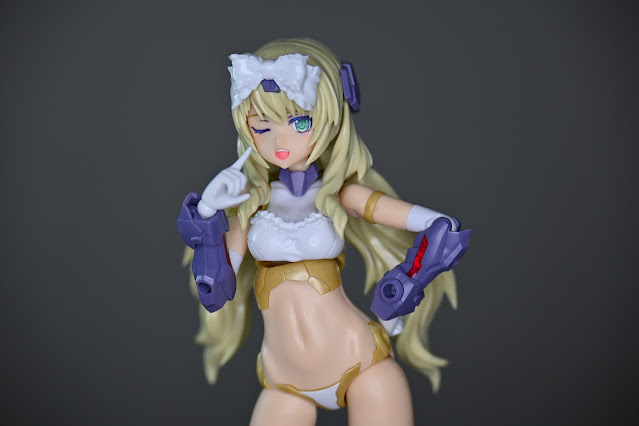
Let's start with the unarmored version.
She is gorgeous. With her pale skin and pastel blond hair. She really gives off this western doll look.
Or Tsundere.
That ribbon on her head is spot on. Whoever made that needs a raise.
It uses the body from Magatsuki and it really shows off more skin than usual. Her body parts are really sculpted well and it is gorgeous.
I still can't get around how her hit parts look right from a different angle. Good Job Kotobukiya!
She also poses well in her unarmored version. You can make some cutsie poses and it fits her so well.
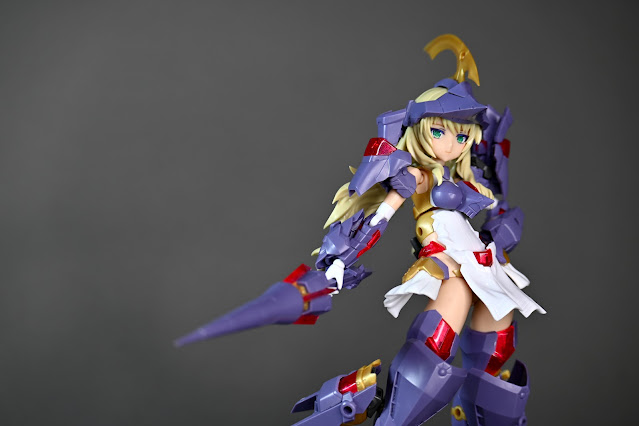
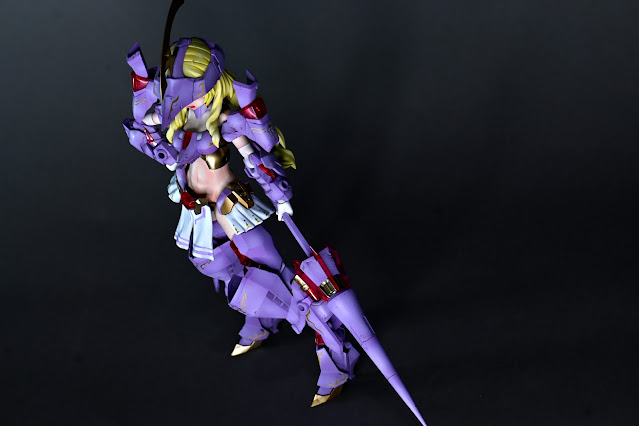
Here are the pictures of the armored form. Her western doll look now looks imposing. It really pulls off her gallant knight in shining armor look but as female.
She is not perfect though. There are some issues with color accuracy, and a lot of parts need painting to make it color-accurate to her box art. Still, she looks great even without painting.
Yup. I will go with this.
The painting was a bit hard. There were a lot of parts that needs to be addressed in a way, that painting would require masking. A good example is her arms. The armor on her arm is a two-piece that goes on her white part, and the purple part has seam lines in the middle. Once you clean the seam line, Two color parts are now one piece, so masking is required when painting. And this is a moving part, so careful painting is needed. Some of the details need to be masked as well to get a clean painting as well.
Usually, I would wing it and get it done, but this was going to be my entry to a contest, so I took some extra effort. The end result was that it took more than two months to build her.
For her face, I didn't use the water slide decals. Instead, I painted them. I am getting old, so It was hard to paint small thin lines but I think I was able to get to an acceptable level.
For her skin tone, I used CS551 Flesh Color Set. It took several layers to get the desired results, but the end results came out amazing, and I was able to show off her beautiful body. Hopefully, the engineers are happy with these results because I didn't want to insult their hard work.
The gold I went with MODO T-010 Zero Gold. It is a pre-thinned gold that is extremely thin, and the pigment is really fine. The spray resulted in an inconsistent hue, and I found that multiple layers of light mist gave the best results. The end result of this gold was amazing. It had a really shiny and smooth gold metallic look and I would recommend it.
I also drew in some details on her white clothing on her body, Small thin lines in intricate design to get some extra details. Except that I had a shaky hand, so that thin line became a thick line and I wasn't able to get the design I wanted.
And here are the results of my hard work.
I really love how her flesh tone came out. especially the back and behind.
The problem is that I used a lot of layers to get these results. Her hair, her body, her armor, and her hair, all have at least 4 layers of paint. The kit is engineered with extreme precision, so a little bit of paint made the joints really snug. I did a mask off parts to minimize this, but some paints still got into the joint so some joints became stiff, even breaking in some cases. Another thing was that when you pose her, the extra thickness of the paint, meant that it will scrape.
So basically my finished product is a statue that I can move maybe a little and swap out some parts.
Honestly, I am not proud of it, and I need to find a way around this and improve myself.
As for the kit. I highly recommend it.


No comments:
Post a Comment